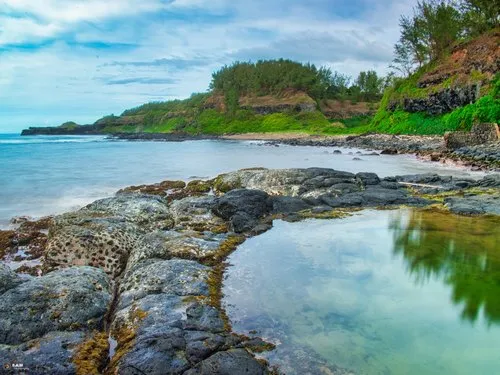
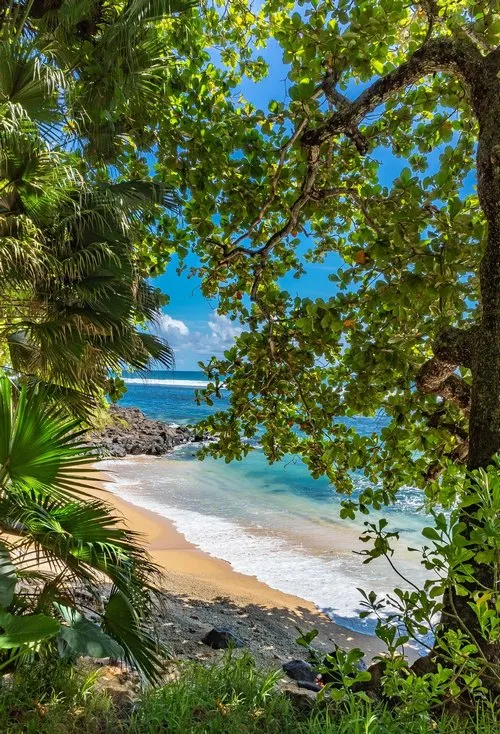
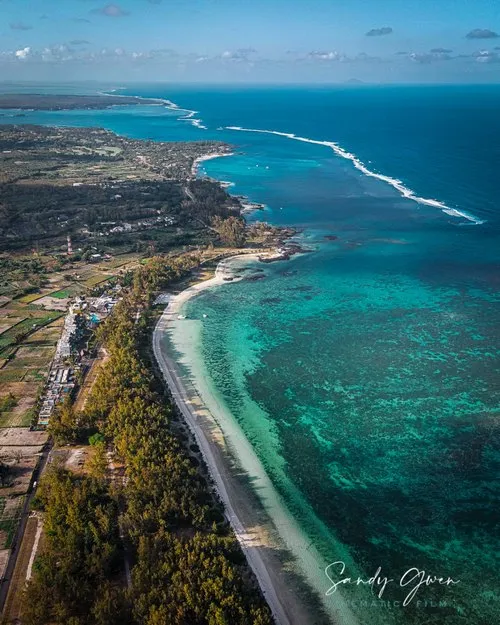
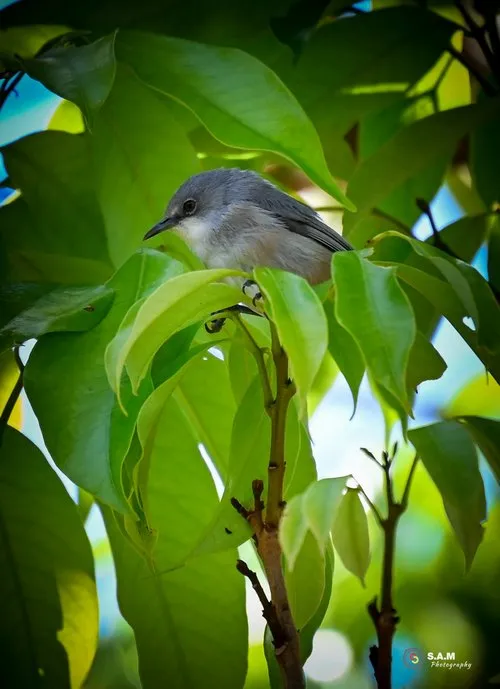
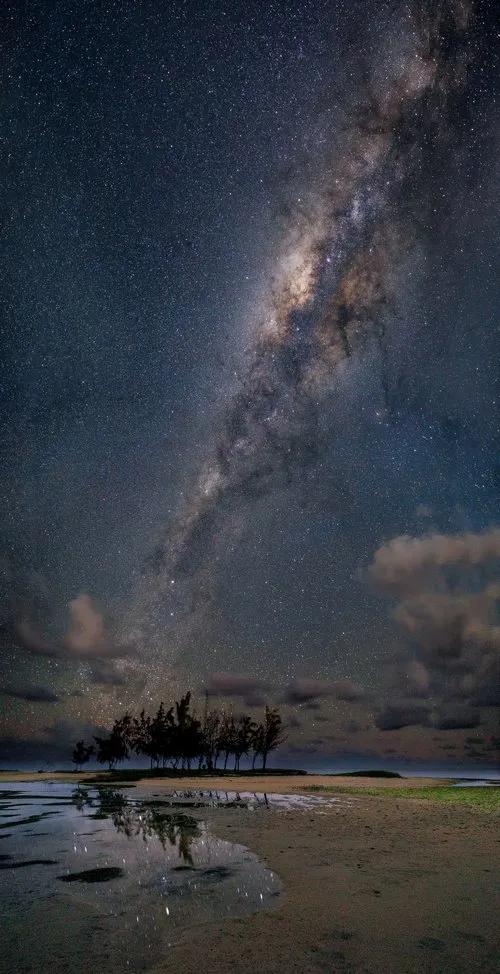
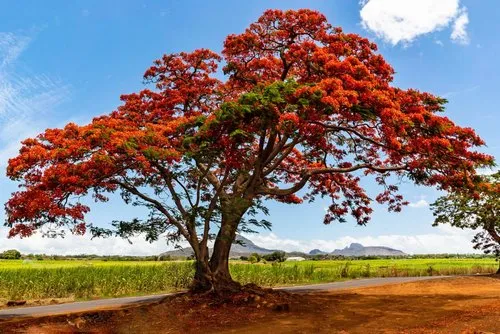
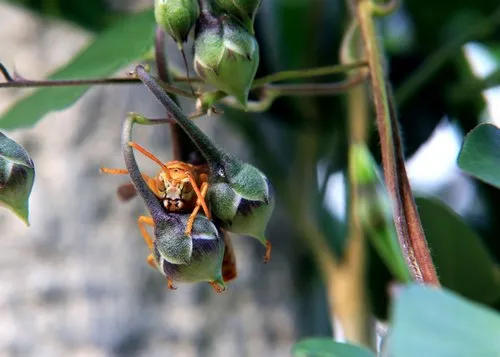
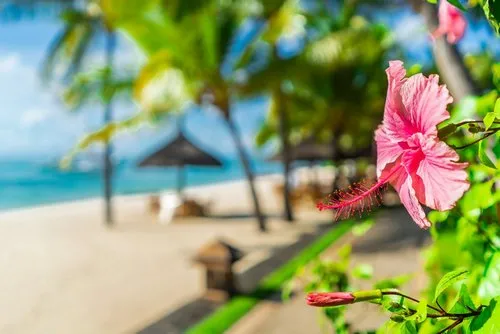
Popular Photos from Mauritius
1588 photos · most viewed first · page 1 of 80
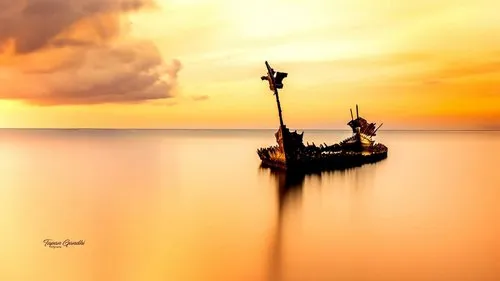
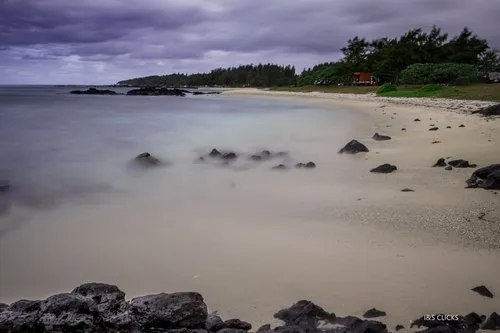
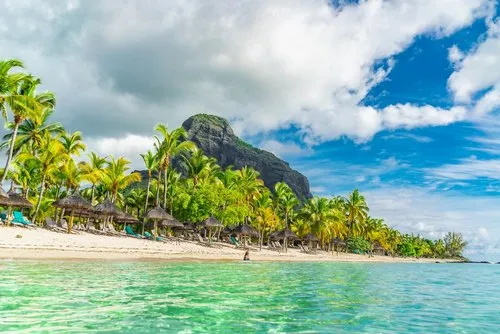
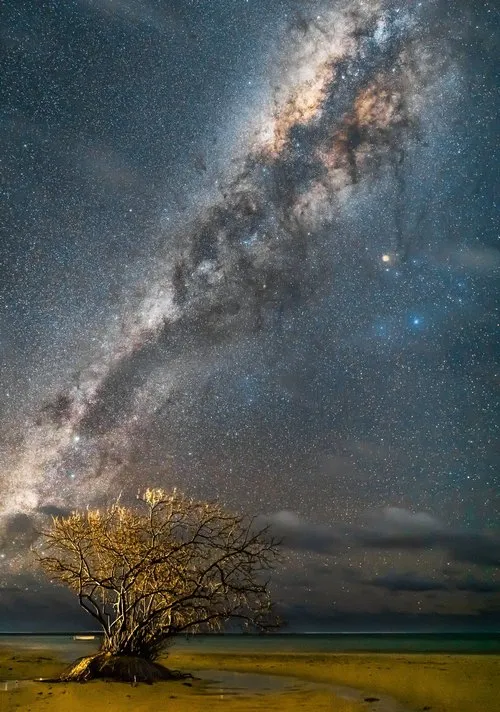
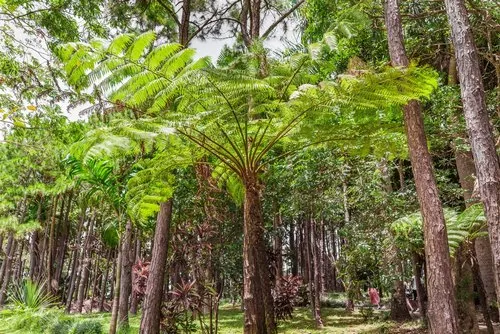
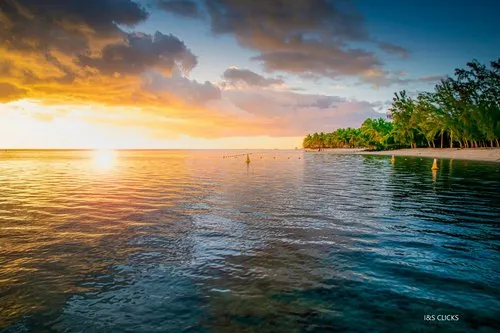
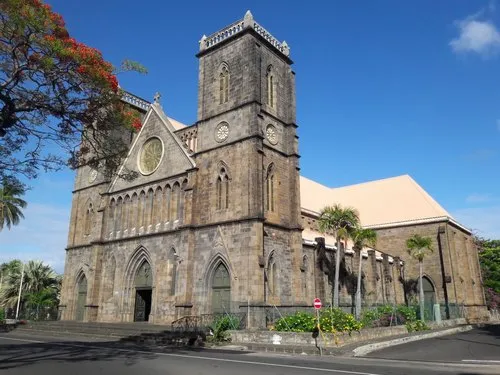
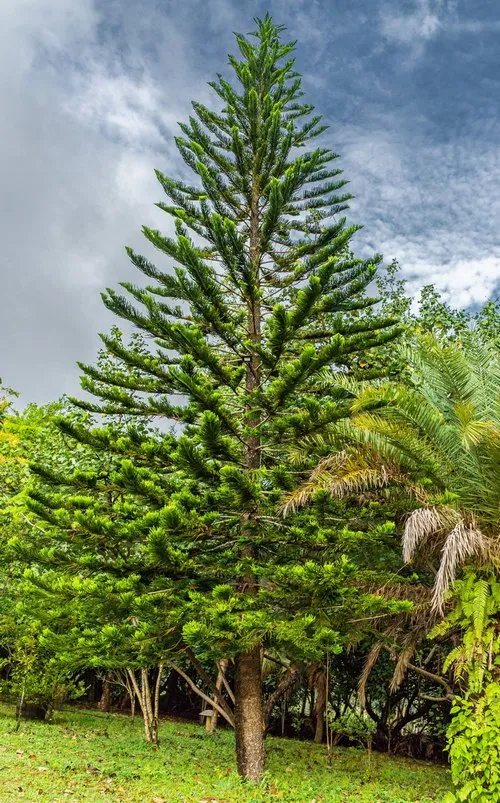
Discover the most viewed photos on Explora, featuring Mauritius beaches, waterfalls, mountains, nature parks, villages, wildlife, sunsets, hotels, and island views captured by local and visiting photographers.
Explore Popular Photo Tags
BeachWaterfallSunsetMountainDrone & AerialLe MorneRodriguesCasela Nature ParksBlack River Gorges National ParkChamarelFlic En FlacTamarinBlue BayIle Aux CerfsHotelNight SkyGrand BayTrou Aux BichesGris GrisBoat